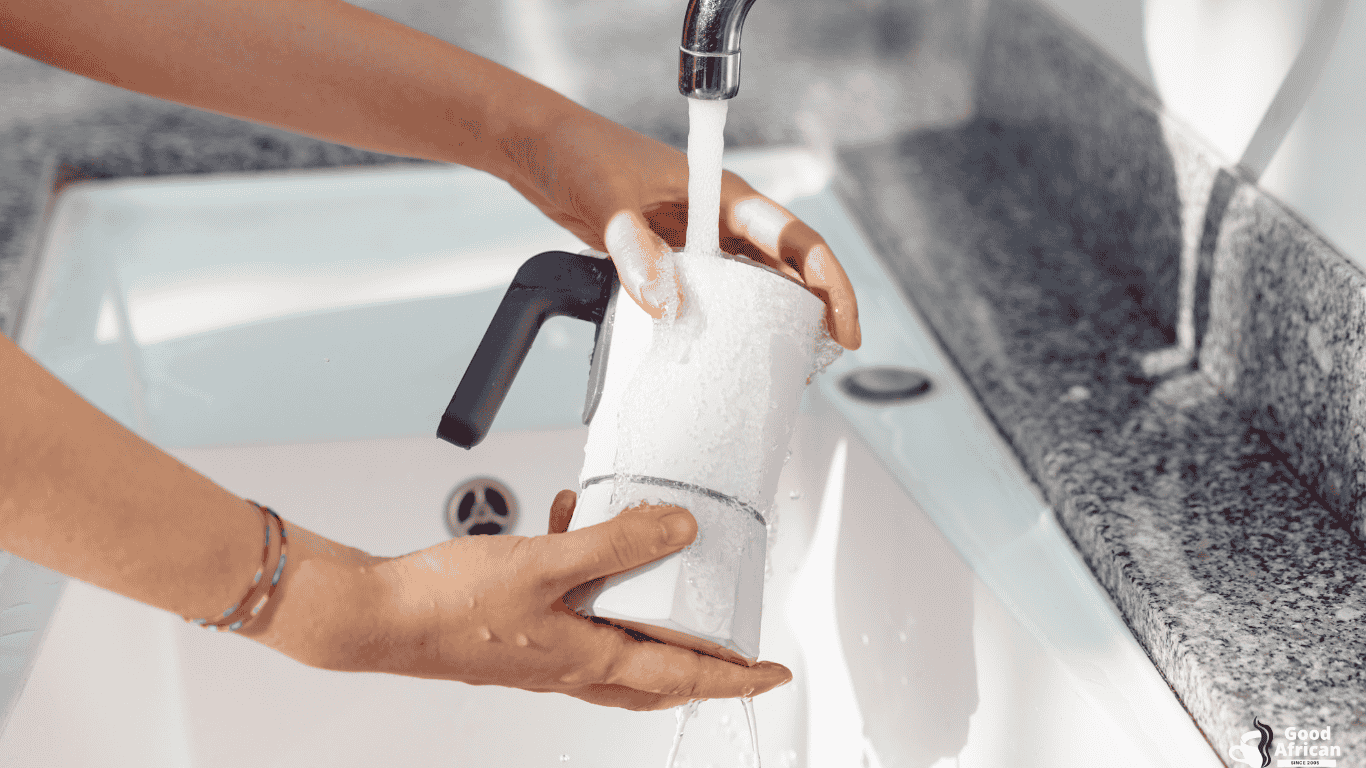
Maintaining a clean coffee pot is essential to ensuring each cup of coffee tastes as fresh and flavorful as possible. Over time, coffee residue and mineral deposits can accumulate, affecting both taste and pot performance.
In this guide, I’ll show you easy steps of how to clean coffee pot using common household items, so your morning coffee is always at its best.
Why You Should Regularly Clean Your Coffee Pot
If your coffee tastes bitter or has a strange aftertaste, it could be a sign that your coffee pot needs cleaning. Old coffee oils and minerals from tap water can build up inside the pot, affecting the taste of fresh brews.
Cleaning your coffee pot not only improves taste but also extends the life of your machine, ensuring that you get the best coffee experience every time.
Step 1 – Gather Your Cleaning Supplies
You don’t need fancy products to clean your coffee pot. Here’s what you’ll need:
- White vinegar
- Water
- Baking soda
- A clean sponge or brush
- Dish soap
Step 2 – Perform a Vinegar Cleaning Cycle
White vinegar is excellent for removing mineral buildup. Here’s how to use it effectively:
- Fill the Reservoir:
Mix equal parts white vinegar and water, filling your coffee maker’s reservoir to the maximum level.
- Run a Brew Cycle:
Start the brew cycle and let it run halfway. Then, pause the machine and let it sit for 30 minutes to allow the vinegar to break down mineral deposits.
- Complete the Cycle:
After 30 minutes, resume the cycle and let it finish.
- Rinse:
Rinse the pot and run two more cycles with just water to remove any vinegar taste.
Step 3 – Scrub the Pot with Baking Soda
Baking soda is great for scrubbing out stains and residue from inside the pot.
- Create a Paste:
Mix a tablespoon of baking soda with a bit of water to make a thick paste.
- Scrub the Pot:

Use a sponge, brush, or microfiber cloth to scrub the inside of the pot with the baking soda paste.
- Rinse Thoroughly:
Once you’ve removed any stains, rinse the pot thoroughly with warm water.
Step 4 – Clean the Exterior and Filter Basket
While the inside of your coffee pot is crucial, the exterior and filter basket also need regular cleaning:
- Filter Basket: Remove the filter basket and wash it with warm, soapy water to get rid of old coffee grounds and oils.
- Exterior: Wipe down the exterior of the coffee maker with a damp cloth and a drop of dish soap.
Step 5 – Maintain Regular Cleaning
To keep your coffee pot performing well and your coffee tasting great, it’s a good idea to clean it monthly with vinegar and weekly with a basic rinse and scrub. Avoid letting coffee or water sit in the pot for long periods, as this can lead to faster buildup.
For more information on proper coffee pot maintenance, watch this coffee care guide by James Hoffman for in-depth tips and insights.
FAQs
How often should you clean a coffee pot?
It’s best to clean your coffee pot at least once a month with vinegar, and every week with soap and water for the best results.
What’s the best way to clean a coffee pot without vinegar?
You can use lemon juice or baking soda as a vinegar alternative. Lemon juice works similarly to vinegar, while baking soda is an excellent scrubbing agent for stains.
Can I put my coffee pot in the dishwasher?
Some coffee pots are dishwasher-safe, but it’s always best to check the manufacturer’s instructions to avoid damage.
Why does my coffee still taste bitter after cleaning?
If bitterness persists, try running additional water cycles to remove any lingering vinegar or cleaner taste. Bitter coffee could also be due to old coffee grounds or stale coffee beans.

