Imagine stepping back in time. The sound of bubbling water and the smell of fresh coffee fill the air. This is what using a coffee percolator is like, a method from the past. It’s perfect for both coffee lovers and newcomers to percolated coffee.
This guide will show you how to make a great cup of coffee with a percolator. It’s all about the art of brewing.
Key Takeaways
- Coffee percolators brew a rich, flavorful, and bold coffee by cycling the hot water through the coffee grounds multiple times.
- Percolators can be used on the stovetop or with electric models, allowing for versatile brewing options.
- The recommended ratio is 1 tablespoon of coarse coffee grounds per 8 ounces of water for a strong brew.
- Brewing time typically ranges from 8-10 minutes, with a focus on maintaining low heat to avoid bitterness.
- Freshly ground whole beans are ideal for percolator use, ensuring maximum flavor and aroma.
Coffee Percolators
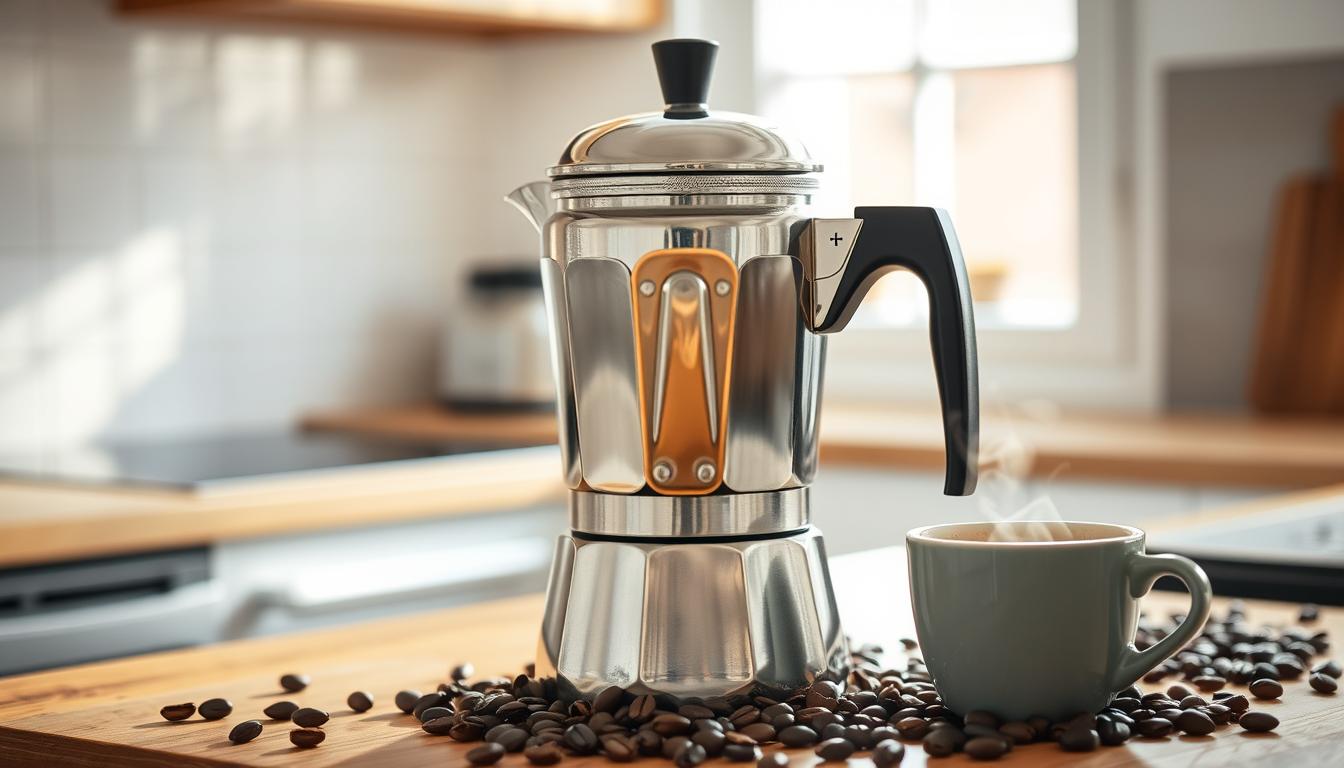
Coffee percolators have been around for decades. They are kettle-like devices with separate chambers for water and coffee grounds. This setup allows hot water to cycle through the grounds, making a bold, robust flavor. You can choose between a stovetop or electric model, both of which can enhance your coffee experience.
What is a Coffee Percolator?
A coffee percolator is a kettle that brews coffee by cycling hot water through coffee grounds. This method, called percolation, makes a strong, flavorful coffee. There are two main types: stovetop and electric.
How Does a Coffee Percolator Work?
The percolation process works like this:
- Water is heated in the lower chamber.
- The heated water goes up through a tube and into the upper chamber with the coffee grounds.
- The water drips down through the grounds, getting the coffee’s oils and flavors.
- This cycle keeps going until the coffee is the right strength.
Types of Coffee Percolators
There are two main types of coffee percolators:
- Stovetop Percolators – These manual percolators are used on the stove. They give you control over brewing, great for camping.
- Electric Percolators – These have their own heating elements. They make brewing easy with features like timers, perfect for home or office.
Whether you like the hands-on feel of a stovetop or the ease of an electric, these methods can make great coffee. With the right percolator coffee tips and techniques, you can get the most out of your stovetop percolator usage or electric percolator.
“The smell of fresh-brewed coffee is one of the greatest pleasures the human olfactory sense can experience.” – Justine Larbalestier
Choosing the Right Coffee Beans
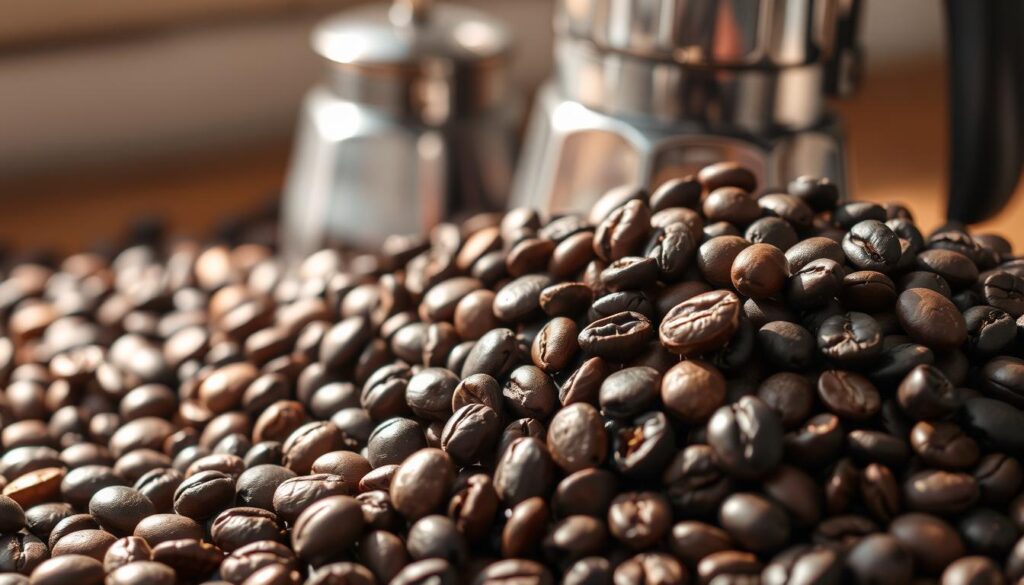
Choosing the right coffee beans is key to a perfect percolator coffee. Look for low-acidity, light-roast percolator coffee beans that are smooth or mild. Dark roasts can overpower the taste due to the percolation process.
Best Beans for Percolation
Arabica beans are the top choice for percolator coffee. They have a balanced flavor with moderate acidity. This lets the natural sweetness and complexity of the coffee shine. Avoid dark roasts and coarse ground coffee beans, as they can make the coffee bitter.
Grind Size Considerations
Coarsely ground coffee is vital for percolator brewing. The grind should be like that for a French press or cold brew. Using a coffee grinder for percolator ensures a consistent coarse grind. Fine grinds can make the coffee gritty and unpleasant.
By picking the right percolator coffee beans and grind size, you can make a smooth, delightful cup of coffee every time.
“The perfect cup of coffee starts with the right beans, and for percolator brewing, low-acidity, light-roast Arabica beans are the way to go.”
Preparing Your Coffee Percolator
Before you can enjoy the rich, flavorful coffee that a percolator can produce, you’ll need to properly assemble and clean your coffee percolator. This is a key step in the brewing process. It makes sure your coffee percolator is ready to give you the perfect cup of coffee.
Assembling the Percolator
First, check that all parts of your coffee percolator are clean and working well. This includes the pot, lid, basket, and central tube. For stovetop models, fill the lower chamber with cold water, just below the basket’s bottom. Next, put the filter basket in and add your coarsely ground coffee.
Cleaning and Maintenance Tips
- Clean your percolator after each use to prevent oil buildup and flavor contamination.
- For a deep cleaning, use a mixture of water and either baking soda or vinegar. Percolate the solution for about 10 minutes to remove any stubborn stains or residue.
- Rinse the percolator thoroughly and dry all components before reassembling and storing.
By properly assembling and maintaining your coffee percolator, you’ll ensure it continues to brew exceptional coffee time and time again.
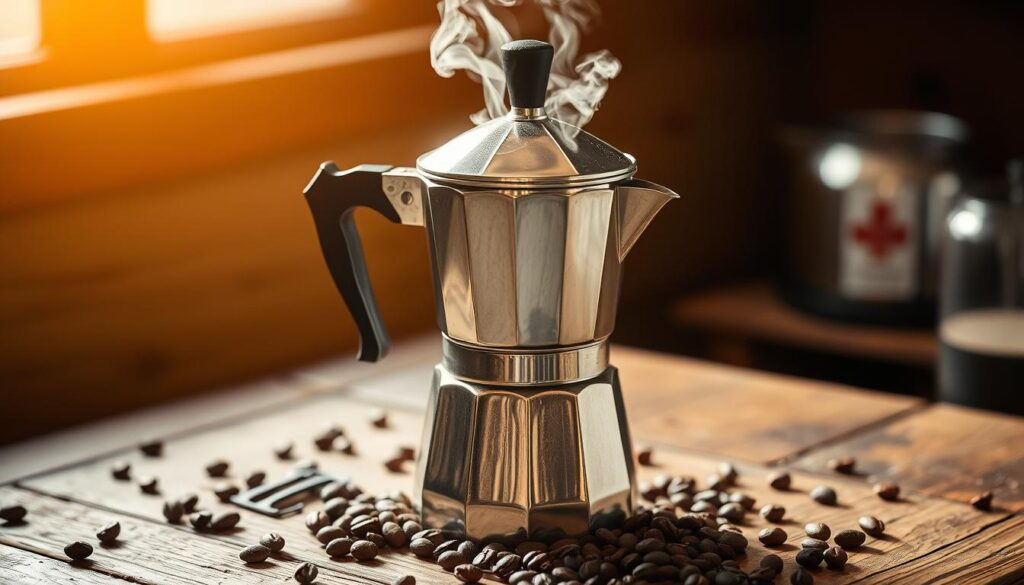
Measuring Coffee and Water
To make the perfect percolator coffee, start with the right coffee to water ratio. For a strong brew, use 1 tablespoon of coffee for each cup of water. If you prefer a milder taste, go for 1 teaspoon of coffee per cup.
For a 9-cup pot, you’ll need about 1/3 cup of coffee grounds. Remember, percolator coffee is more concentrated than drip coffee. So, you might need to adjust the amount based on your taste.
Adjusting for Strength Preferences
Feel free to play with the coffee-to-water ratio to find your perfect strength. Some like their coffee strong and bold, while others prefer it milder. Using a scale to measure your coffee grounds can help achieve more consistent results.
“The water-to-coffee ratio recommended by the Specialty Coffee Association is 16:1, meaning 16 parts water for every 1 part coffee.”
The best ratio can change based on the coffee beans and their grind size. Adjust as needed to brew your ideal strong percolator coffee or mild percolator coffee.
By finding the right coffee to water ratio, you can make the most of your percolator. Enjoy a rich, flavorful cup of coffee every time.
The Brewing Process
Brewing percolator coffee is a tradition that makes a rich, full-bodied coffee. To get the perfect percolator brew time and how to brew percolator coffee, follow a few simple steps.
Step-by-Step Brewing Instructions
- Start with cold, fresh water and fill the percolator’s reservoir to the desired level.
- Add the right amount of coarsely ground coffee – about 1 tablespoon for every 6 ounces of water.
- Assemble the percolator and place it on the stovetop over medium heat.
- When the water starts to bubble and you see coffee in the clear glass knob, lower the heat to medium-low to medium.
- Let the percolator coffee brew for 7-10 minutes, depending on how strong you like it. Avoid over-extracting to prevent bitterness.
Monitoring Brew Time
Watching the brewing process is key to getting the perfect percolator coffee. The water should be hot but not boiling. You shouldn’t see steam coming out of the percolator. Once it’s brewed to your liking, take it off the heat and let it sit for a bit before serving.
With practice and a bit of experimentation, you’ll get the hang of how to brew percolator coffee. You’ll enjoy a great cup every time.
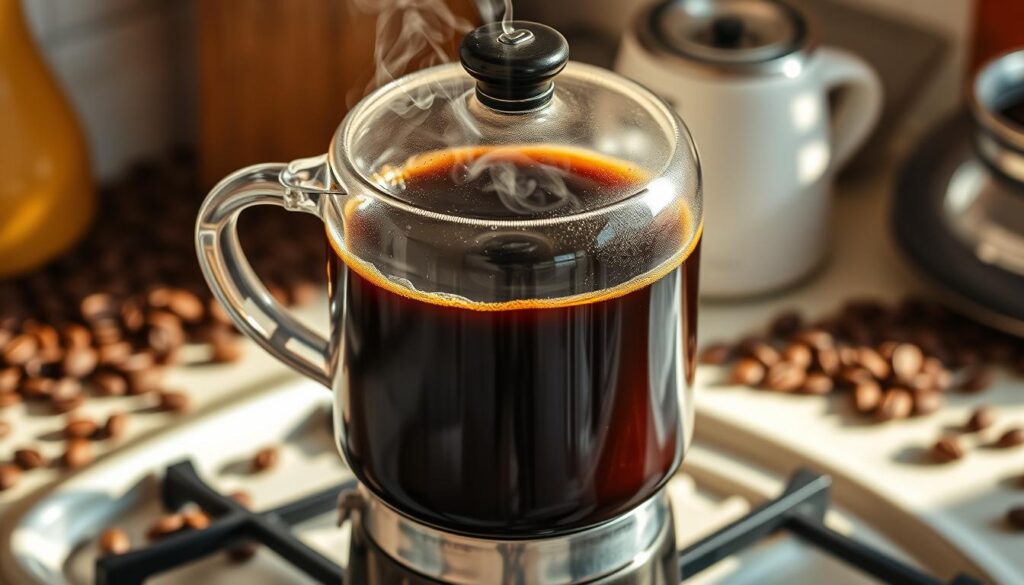
“The sound of the percolator and the smell of fresh coffee is one of my favorite parts of the day.” – Julia Child
Serving and Enjoying Your Coffee
After brewing your percolator coffee, it’s time to enjoy it. Make sure to remove the coffee grounds basket and stem before pouring. This prevents any leftover grounds from getting into your cup.
Let the coffee rest for a few minutes. This allows any escaped grounds to settle at the bottom.
Serve the coffee in pre-warmed cups to keep it at the best temperature. This simple step can make your coffee taste even better.
Recommended Pairings and Accessories
Pair your percolator coffee with classic breakfast items or pastries. The strong flavor of percolator coffee goes well with hearty meals or sweet treats.
For a special coffee moment, get quality coffee accessories. Think about insulated mugs, cream and sugar sets, or a precise coffee scoop. These can make your coffee time even more enjoyable.
“The aroma of freshly brewed percolator coffee is simply unmatched. It’s a sensory experience that transports me back to cherished mornings with family.”
Whether you’re enjoying a quiet moment alone or with loved ones, the perfect serve percolator coffee is a great way to start your day.
Troubleshooting Common Issues
Using a coffee percolator can sometimes lead to problems. But, with a bit of troubleshooting, you can fix these issues and enjoy great coffee. It’s all about mastering the art of percolation.
Over-Brewing and Bitter Taste
One common issue is a bitter taste from over-extraction. This often comes from water that’s too hot or coffee that brews for too long. To solve this, lower the heat and shorten the brew time.
Try to keep the percolation time between 7-10 minutes. Also, watch the temperature closely to avoid it getting too high.
Under-Brewing and Weak Flavor
If your coffee tastes weak, it might be under-extracted. This could be due to a coarse grind or short brew time. To fix this, make the grind finer and increase the brew time a bit.
This will help extract more flavor and make your coffee stronger.
Cleaning Stains and Residues
Stains and oily residues can build up in your percolator over time. To clean them, mix water with baking soda or white vinegar. Then, percolate this solution for about 10 minutes.
This should help remove any stubborn deposits. Cleaning your percolator regularly after each use will also keep it in good condition. This ensures your coffee always tastes great.

